My Cheap Emergency Blanket
This project
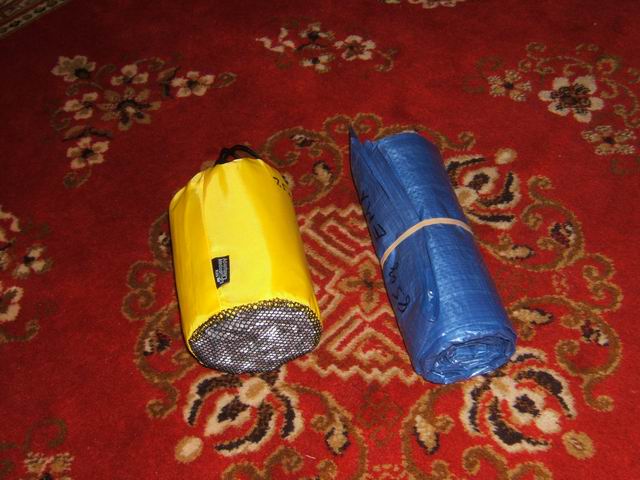
uses cheap blue tarp material to make an emergency camping blanket
that is similar to commercial models costing about $20-$25. This is
a very simple copy using one 6 ft x 8 ft blue tarp which cost me
$1.59 at a local surplus store (Bldg 19), and are normally about $3.
The original emergency blanket is touted to reflect heat although I
doubt that it is very effective in that mode of heat retention. It
is silver color on the outside and fuzzy on the inside. I would
suspect that the emissivity on the outside is in the range of
aluminum lacquer paint, from 0.3 – 0.6. A body with an emissivity of 1.0 is a perfect radiator and 0.0 would radiate no heat. To give examples, black soot is 0.95, and white paper is about the same at room temperatures and lower. Polished aluminum or any other polished metal is about 0.05. Gold is about 0.02 which is why it is used on space capsules to keep them from over heating. There is no other way to remove heat in space.
The major
contribution to heat retention would be protection from moisture and
wind. Therefore making a emergency blanket from vinyl/polyester tarp material is just about as good. If you want radiation protection,
it would be better to use cheaper shiny aluminized mylar Space Blanket
material (emissivity about 0.1-0.2) that could be draped over the emergency blanket. Since they
are found as cheap as $2 each, it would be smart to have a couple of
them with you besides the emergency blanket. Two of them draped over the emergency blanket would produce 0.2 x 0.2 = 0.04 emissivity, and quite effective against radiant heat loss.
To use a single tarp I chose to use a 6 ft x 8 ft tarp folded in half. The resulting width is just an inch or so less than the commercial version. This is large enough for an average person, but if you want a larger one, use two 5 x 7 tarps. (Sometimes it is hard to find a store that carries such small tarps.) Just sew them on top of each other.
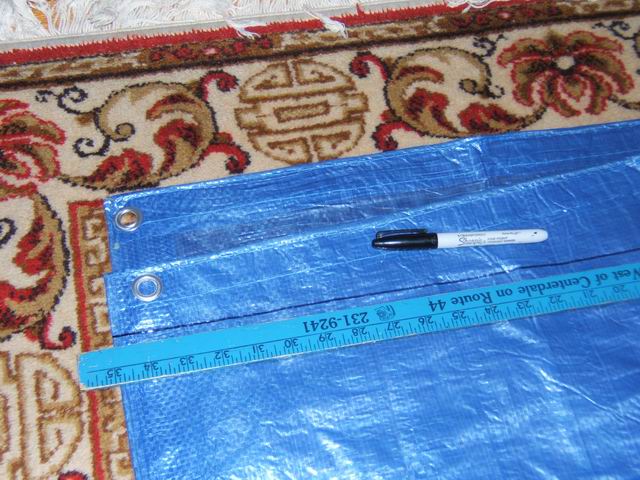
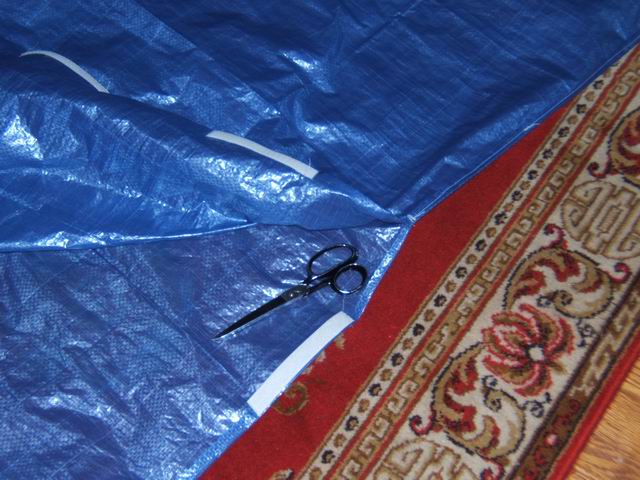
Most of these tarps are not square so the first thing is to fold over the tarp and square off the top and bottom as seen in the photos below. I then trimmed the grommets off the sides of the tarp (while still folded), trying to save as much width as possible. I used a single folded seam across the bottom and up half the open side.

I put three Velcro tabs on the upper half of the open side, similar to the commercial version. I did not put them across the top like the commercial version.
The finished bag is just about the same size as the commercial one and weighs only 8.5 oz compared to the 7.5 oz of the commercial bag.

Rev. March 12, 2007